

My mom was up visiting this past weekend and instead of going to Shakespeare in the Park we stayed home and decided to have a craft night. We saw these wreaths made from paper at the Cornhill Arts Festival earlier in the day and set out to figure out how to make them. Below is a tutorial on what we learned and how to make one (without hopefully needing to the trial and error process like we did).
Time: It took us about 2 hours but that was with a half hour of trial and error.
Cost: Free because I had all of the supplies.
Materials: You will need, twine or yarn, a small hot glue gun and glue sticks, card stock decorative paper, a piece of cardboard, scissors, buttons, burlap or fabric.
Step 1:
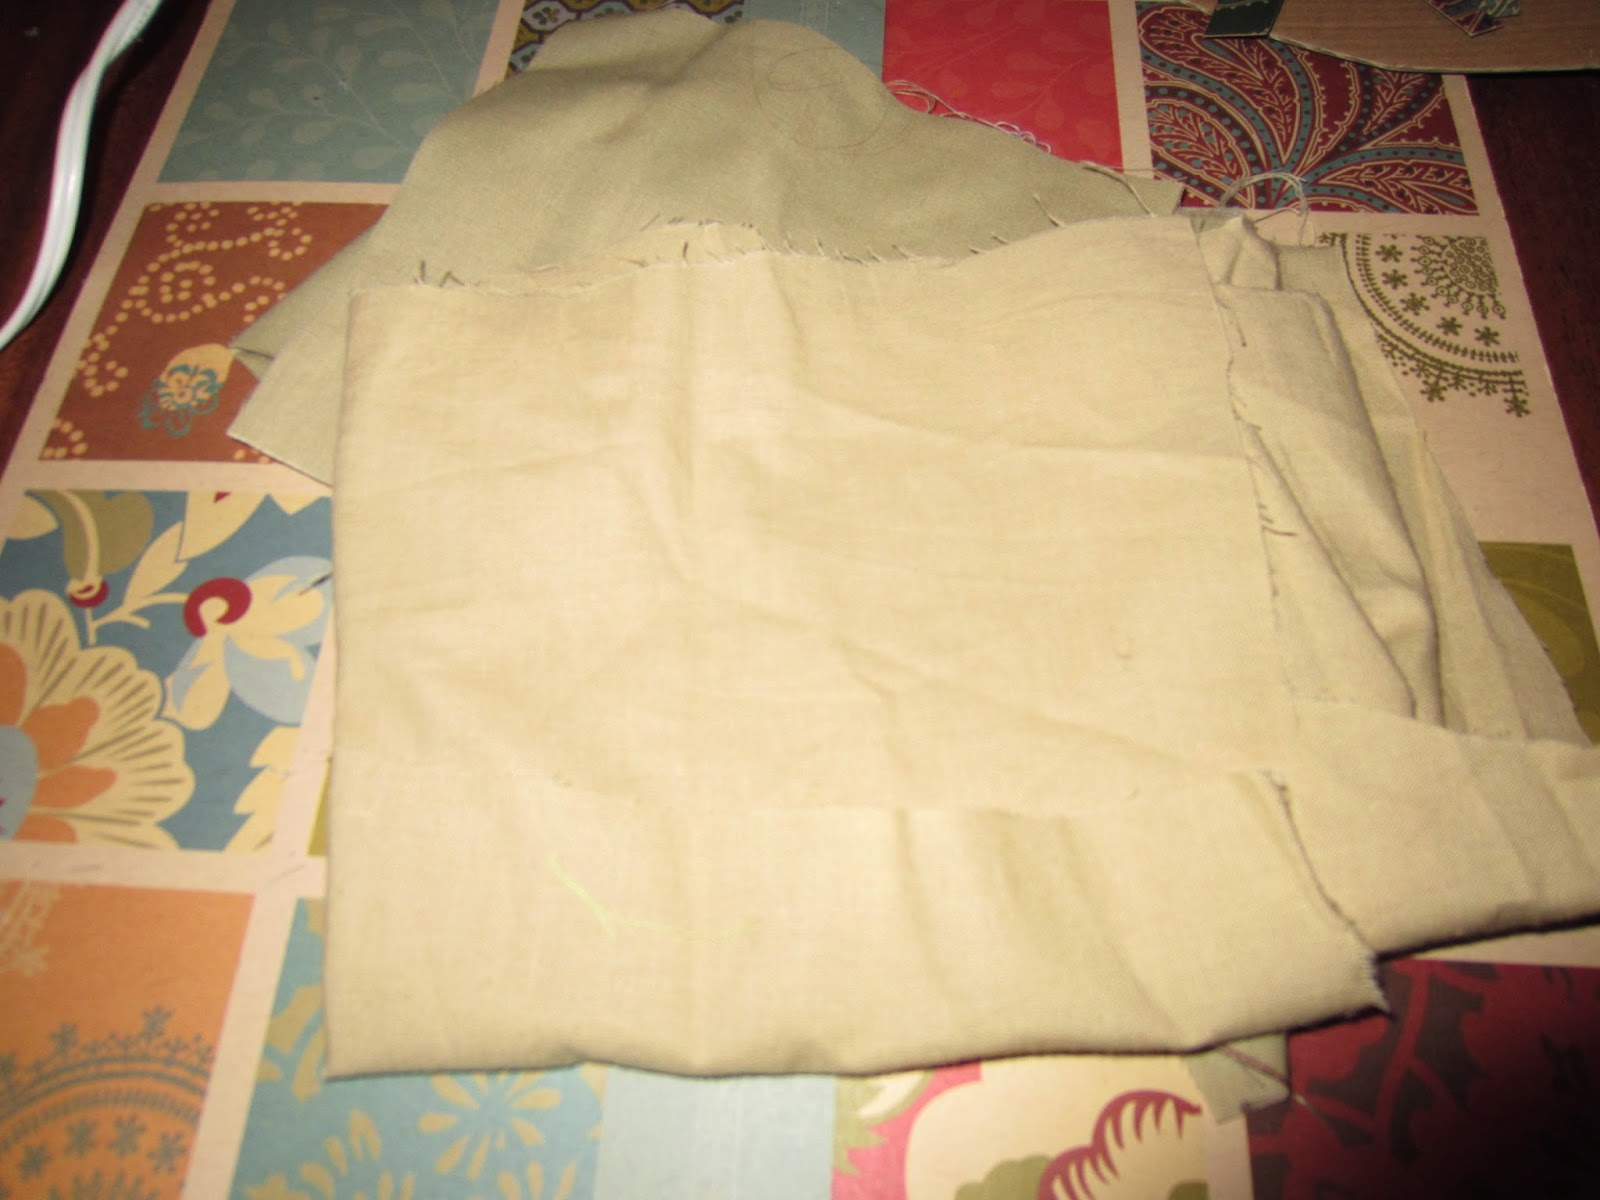
Cut out a donut shape with the cardboard. This will be your base for your wreath. You can either cut strips of fabric or burlap and wrap around the donut hot gluing it on the back side to secure it.


Step 2:
Making the paper flowers (or at least that is what we are going to call them). :) Experiment with the size of your paper. The bigger the piece the larger the flower. You can also experiment with the size of your fan folds to create thicker or thinner flowers. For example, take a 6x6 sheet of paper, cut it in half, then fold front/back/front/back to create the look below. Take the other half and do the same thing. You then put them side by side and wrap twine around the middle. Secure with a small knot.

Start spreading the folds (you will have 4 breaks in the fold). Hot glue the breaks together until all 4 create a solid flower.

Step 4:
Hot glue a button of your choice to the center of the flower.
Step 5:
When all of your flowers are created you can lay out your design on the wreath base and when ready hot glue your flowers on to the base and to each other.

Step 6:
I used a piece of twine (you can use a piece of ribbon or whatever you'd like) to create the hanger for the wreath.

Step 7:
Hang up and enjoy looking at it! :)

**There are many other additions or alterations you can do to this project. Below you can see my mom's finished project which is different from mine. You can use other material to cover your wreath base, or add other embellishments, and so on to create the look you would like.


No comments:
Post a Comment